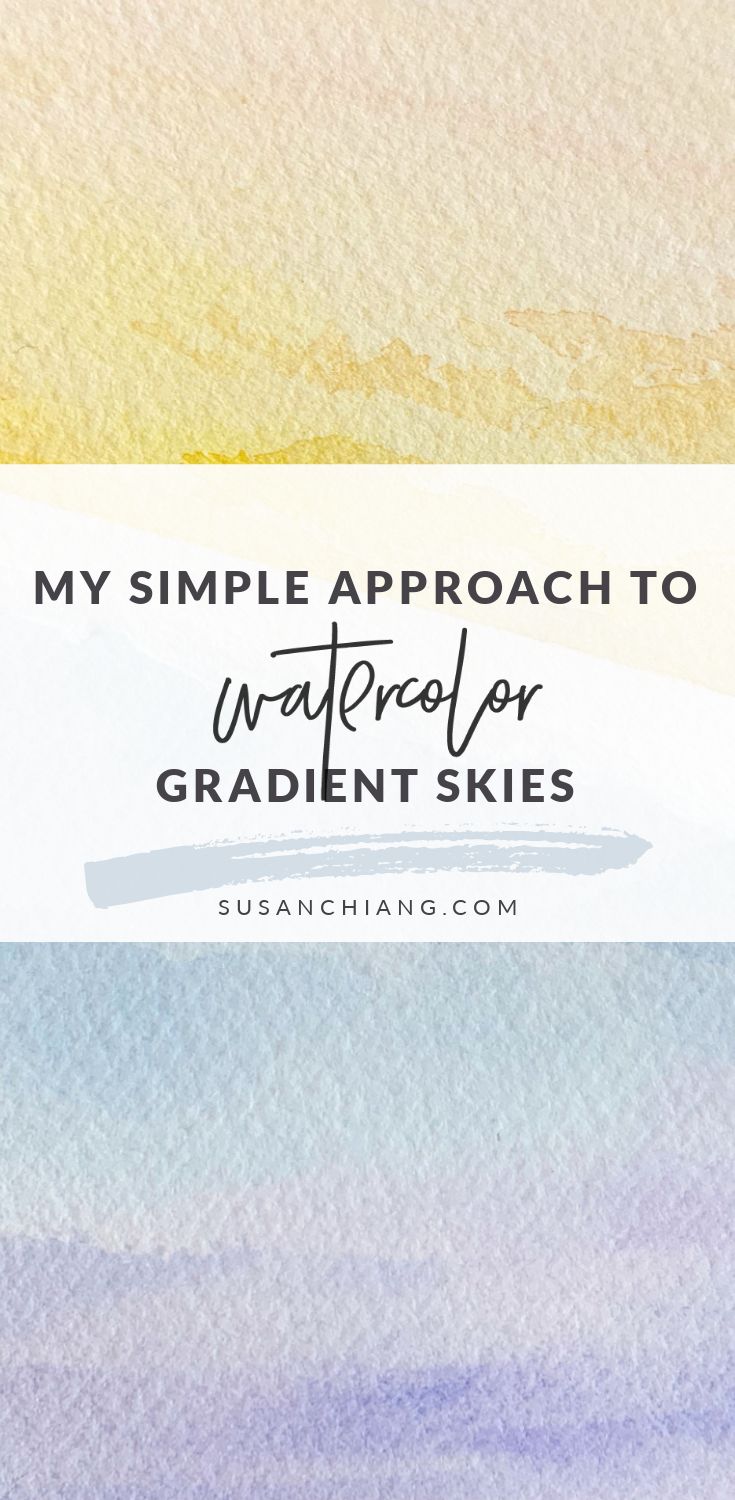
My Simple Approach To Painting Gradient Watercolor Skies
In today’s post, I’m sharing my approach to painting gradient watercolor skies. There are three reasons I wanted to practice a gradient sky with subtle clouds:
There are three reasons I wanted to practice a gradient sky with subtle clouds:
A gradient sky cloudless sky is a great background for landscapes when you don’t want it to compete with other elements in the painting.
Adding subtle clouds is a way to add some interest without putting too much focus on the sky. (Also, I just generally enjoy subtle details)
I was curious whether or not I could improve my technique of painting gradients since the time I painted these gradient background experiments.

SUPPLIES
Below are the supplies I used for these clouds (you can see them all being used in the video at the end of this post):
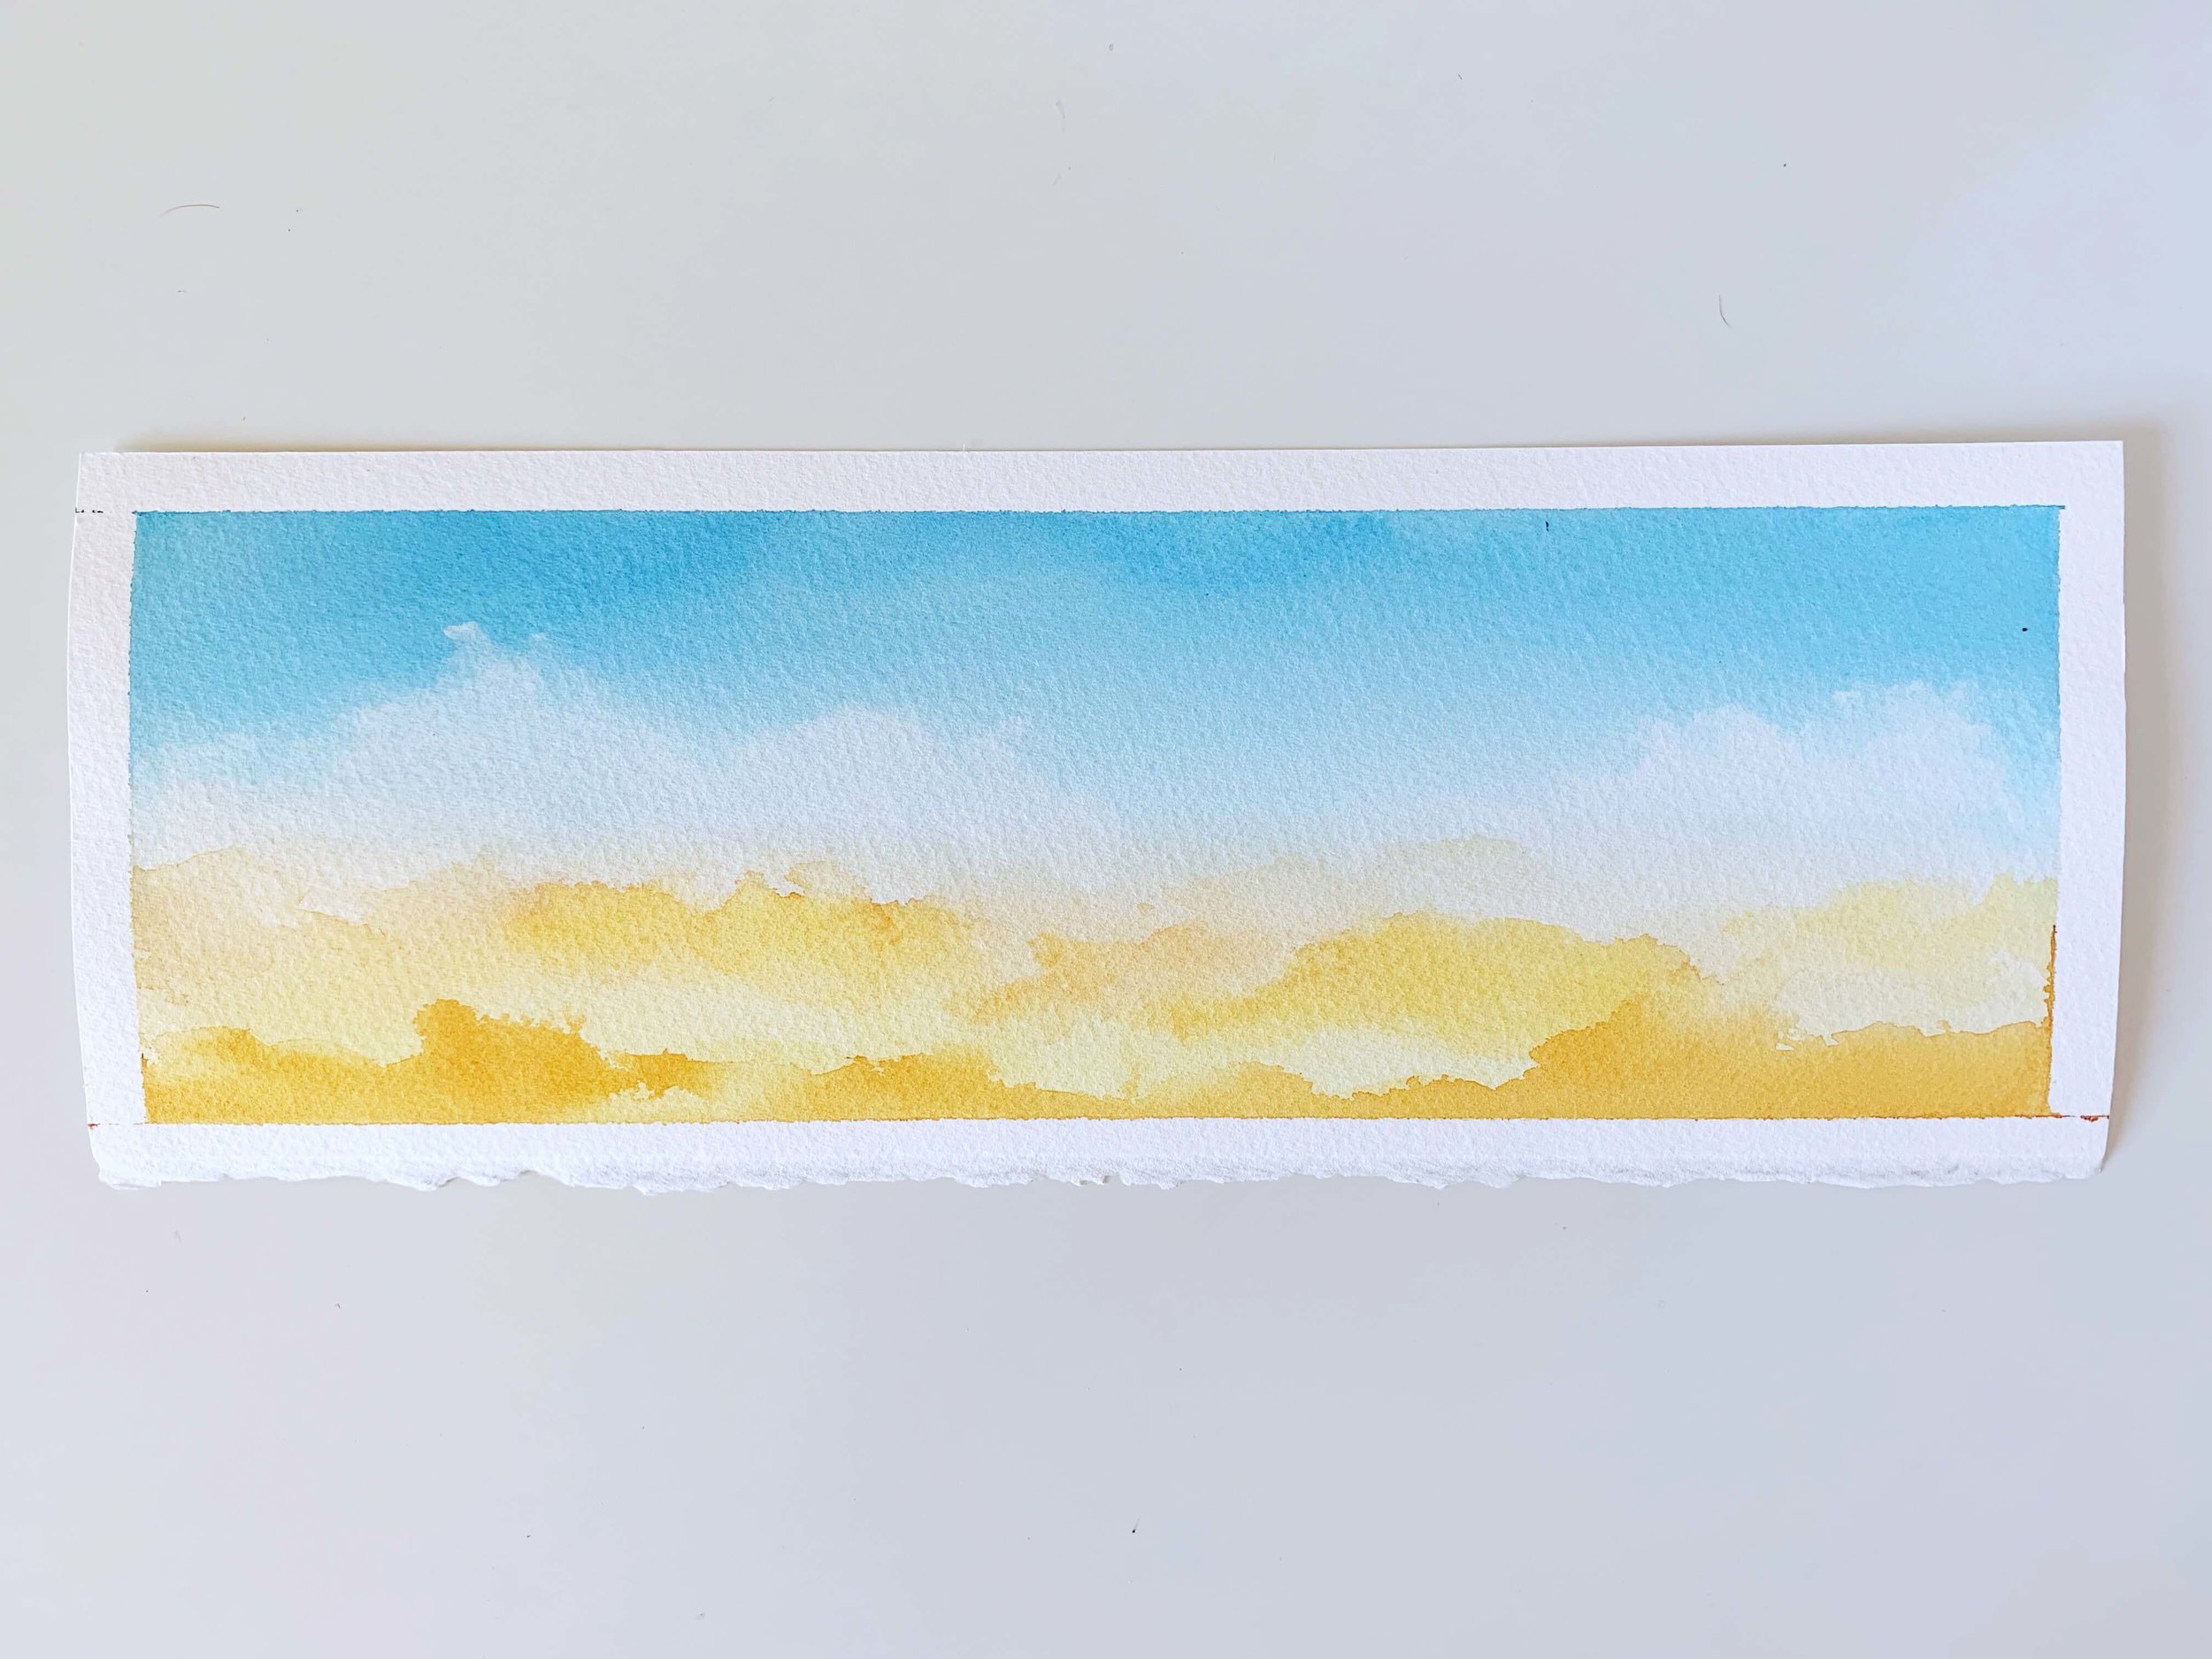
GRADIENT SKY #1: SIMPLE APPROACH
As you probably know, I’m a fan of keeping the number of techniques I’m juggling to a minimum when I’m experimenting and learning. For this first gradient sky, the way I kept things simple was by first concentrating only on the gradient and then layering the clouds after. In other words, one thing at a time.
This is my simple approach in 3 steps:
Paint sky
Let dry
Paint clouds

Here’s a bit more detail on the basic steps I took to paint this gradient sky. It’s a simple approach but there are always nuances with the steps you take when watercoloring and I want to share them here in case you’re going to try this yourself:
Wet paper evenly - you want a dull even sheen, not pools of water.
Using my flat brush, I applied colors in this order (all Mijello Mission Gold Watercolors):
Cobalt Blue No. 1 at the top
Permanent Yellow Light in middle
Mix of Orange & Permanent Red at bottom
While adding colors, make sure to smooth out brush marks and hard edges to get a smooth gradient while being careful not to introduce extra water back into the painting (Tip: Be careful about accidentally mixing colors on the paper and in your palette during this process - you don’t want to end up with any greens in your sky (blue & yellow make green)
Let it dry completely
Paint a layer of subtle clouds by using very diluted versions of the same colors used to paint the background (Tip: when painting these subtle clouds I paid attention to leaving some hard edges and softening others)


Lessons Learned
Working in layers with the gradient layer first and clouds second gives me a lot more control over the way the clouds look
Diluted, non-granulating paints create really bright and clean gradients
A flat brush is useful if I’m trying to get very even washes
GRADIENT SKY #2: A LITTLE MORE COMPLEX
After the first gradient sky turned out nicely, I decided to add more complexity by adding more techniques into the mix. In this attempt I decided not to wait for the gradient background to dry. Instead I added in clouds while the background was still wet.

Working wet is always trickier because it seems like there are a lot more moving parts! Below are the basic steps I took:
Wet paper evenly - you want a dull even sheen, not pools of water.
Apply the colors to create the gradient backdrop by dropping in the first color at the top and the second color at the bottom and blending them together while leaving some white of the paper for clouds
Come back in while paper is damp and add in darker areas to help define the clouds and create darker clouds
Lift with a dry brush or paper towel as necessary


Lessons Learned
Painting “around” clouds is trickier than lifting them out of a wash of paint. I think I would need a better idea of the cloud formations before using this method next time
For me, painting large areas of gradient backgrounds with a round brush (not a flat) have a more mottled look (and more “movement”). Perhaps it would make less of a difference when painting a smaller area of sky. In the end it all depends on the look you’re going for.
I have less control with foreground clouds when the background is still wet
GRADIENT SKY #3: COMBINING ALL THE TECHNIQUES
In this final gradient sky, I took all the techniques that I felt worked the best (and that I enjoyed painting the most) and used them all. This one combines all the techniques that I practiced while painting blue skies and gradient skies.
Here are the basic steps I followed:
Wet paper evenly - you want a dull even sheen, not pools of water.
Using my flat brush, I applied colors in this order (all Mijello Mission Gold Watercolors):
Peacock Blue & Cobalt Blue No. 1 at the top
Mix of Orange & Permanent Red in the middle
Permanent Yellow Light at bottom
While adding colors, make sure to smooth out brush marks and hard edges to get a smooth gradient while being careful not to introduce extra water back into the painting (Tip: Be careful about accidentally mixing colors on the paper and in your palette during this process - you don’t want to end up with any greens in your sky (blue & yellow make green)
Let it dry for a minute (not completely)
Create clouds by lifting/blotting up paint with a clean paper towel
Add in colorful clouds with a brush using more saturated color.


After practicing all of these different skies, I learned a lot of lessons. They may not be true for you when you sit down to paint them as we all have our own unique approaches, likes, and dislikes while painting. So with that being said, here are my overall takeaways:
For these paintings, my favorite way to make clouds is by lifting them out by blotting with a clean paper towel
Using a flat or wash brush is the best way to get a very even gradient in the sky
Using a round brush with movement is the best way to create interest and texture in the sky
I don’t particularly enjoy creating clouds by painting around them
Practicing different approaches helps me decide what works best for me and what I’ll be trying the next time I paint the same subject again.
I know watching videos helps me a lot in understanding someone’s process, so below is a time-lapse video of my painting process for both of these:

I hope that you enjoyed following along with these gradient sky experiments. I would love to know if you’ve given these a try! Here’s a few ways to share your work with me:
Leave a comment on the blog post
Share your skies with me on Instagram stories by tagging me @susanchiang_
Post your work on my Facebook Page
And leave a comment below if you have any questions!
As always, thank you for reading,
Susan
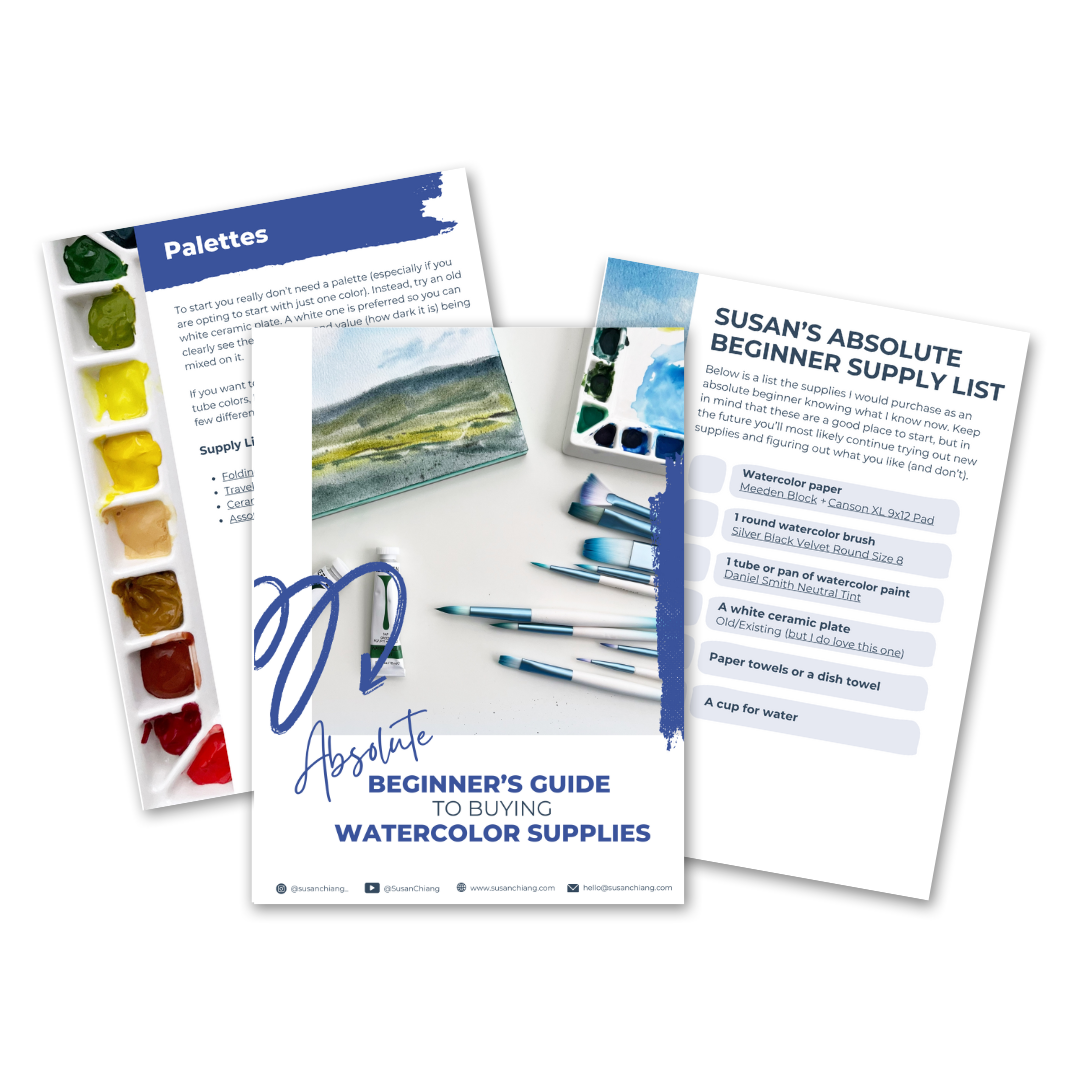
Just getting started and want some help with supplies?
Download my free beginner’s supply guide by entering your information below!