
Loose Green Clovers Watercolor Practice
Each person has a different personality as a painter. When it comes to painting with watercolor, I think there are two main types: the type that will do studies and tests before diving into a painting. Perhaps swatching colors and making a plan - even if it’s a rough one.
Then there are types like me. The type that has a visual idea, a rough idea of how to approach it, and then puts paint onto paper. No swatching, no studies. If I fail, I just keep trying it over and over again - or I abandon it all together and move on.
I believe both are valid. Both are forms of practice, one is more methodical, the other is more learn-as-you-go. Both result in putting in brush time, which ultimately results in experience and progress.
In this video, I’m sharing with you how you can channel both personalities into your next practice session. Perhaps you might give it a try sometime.
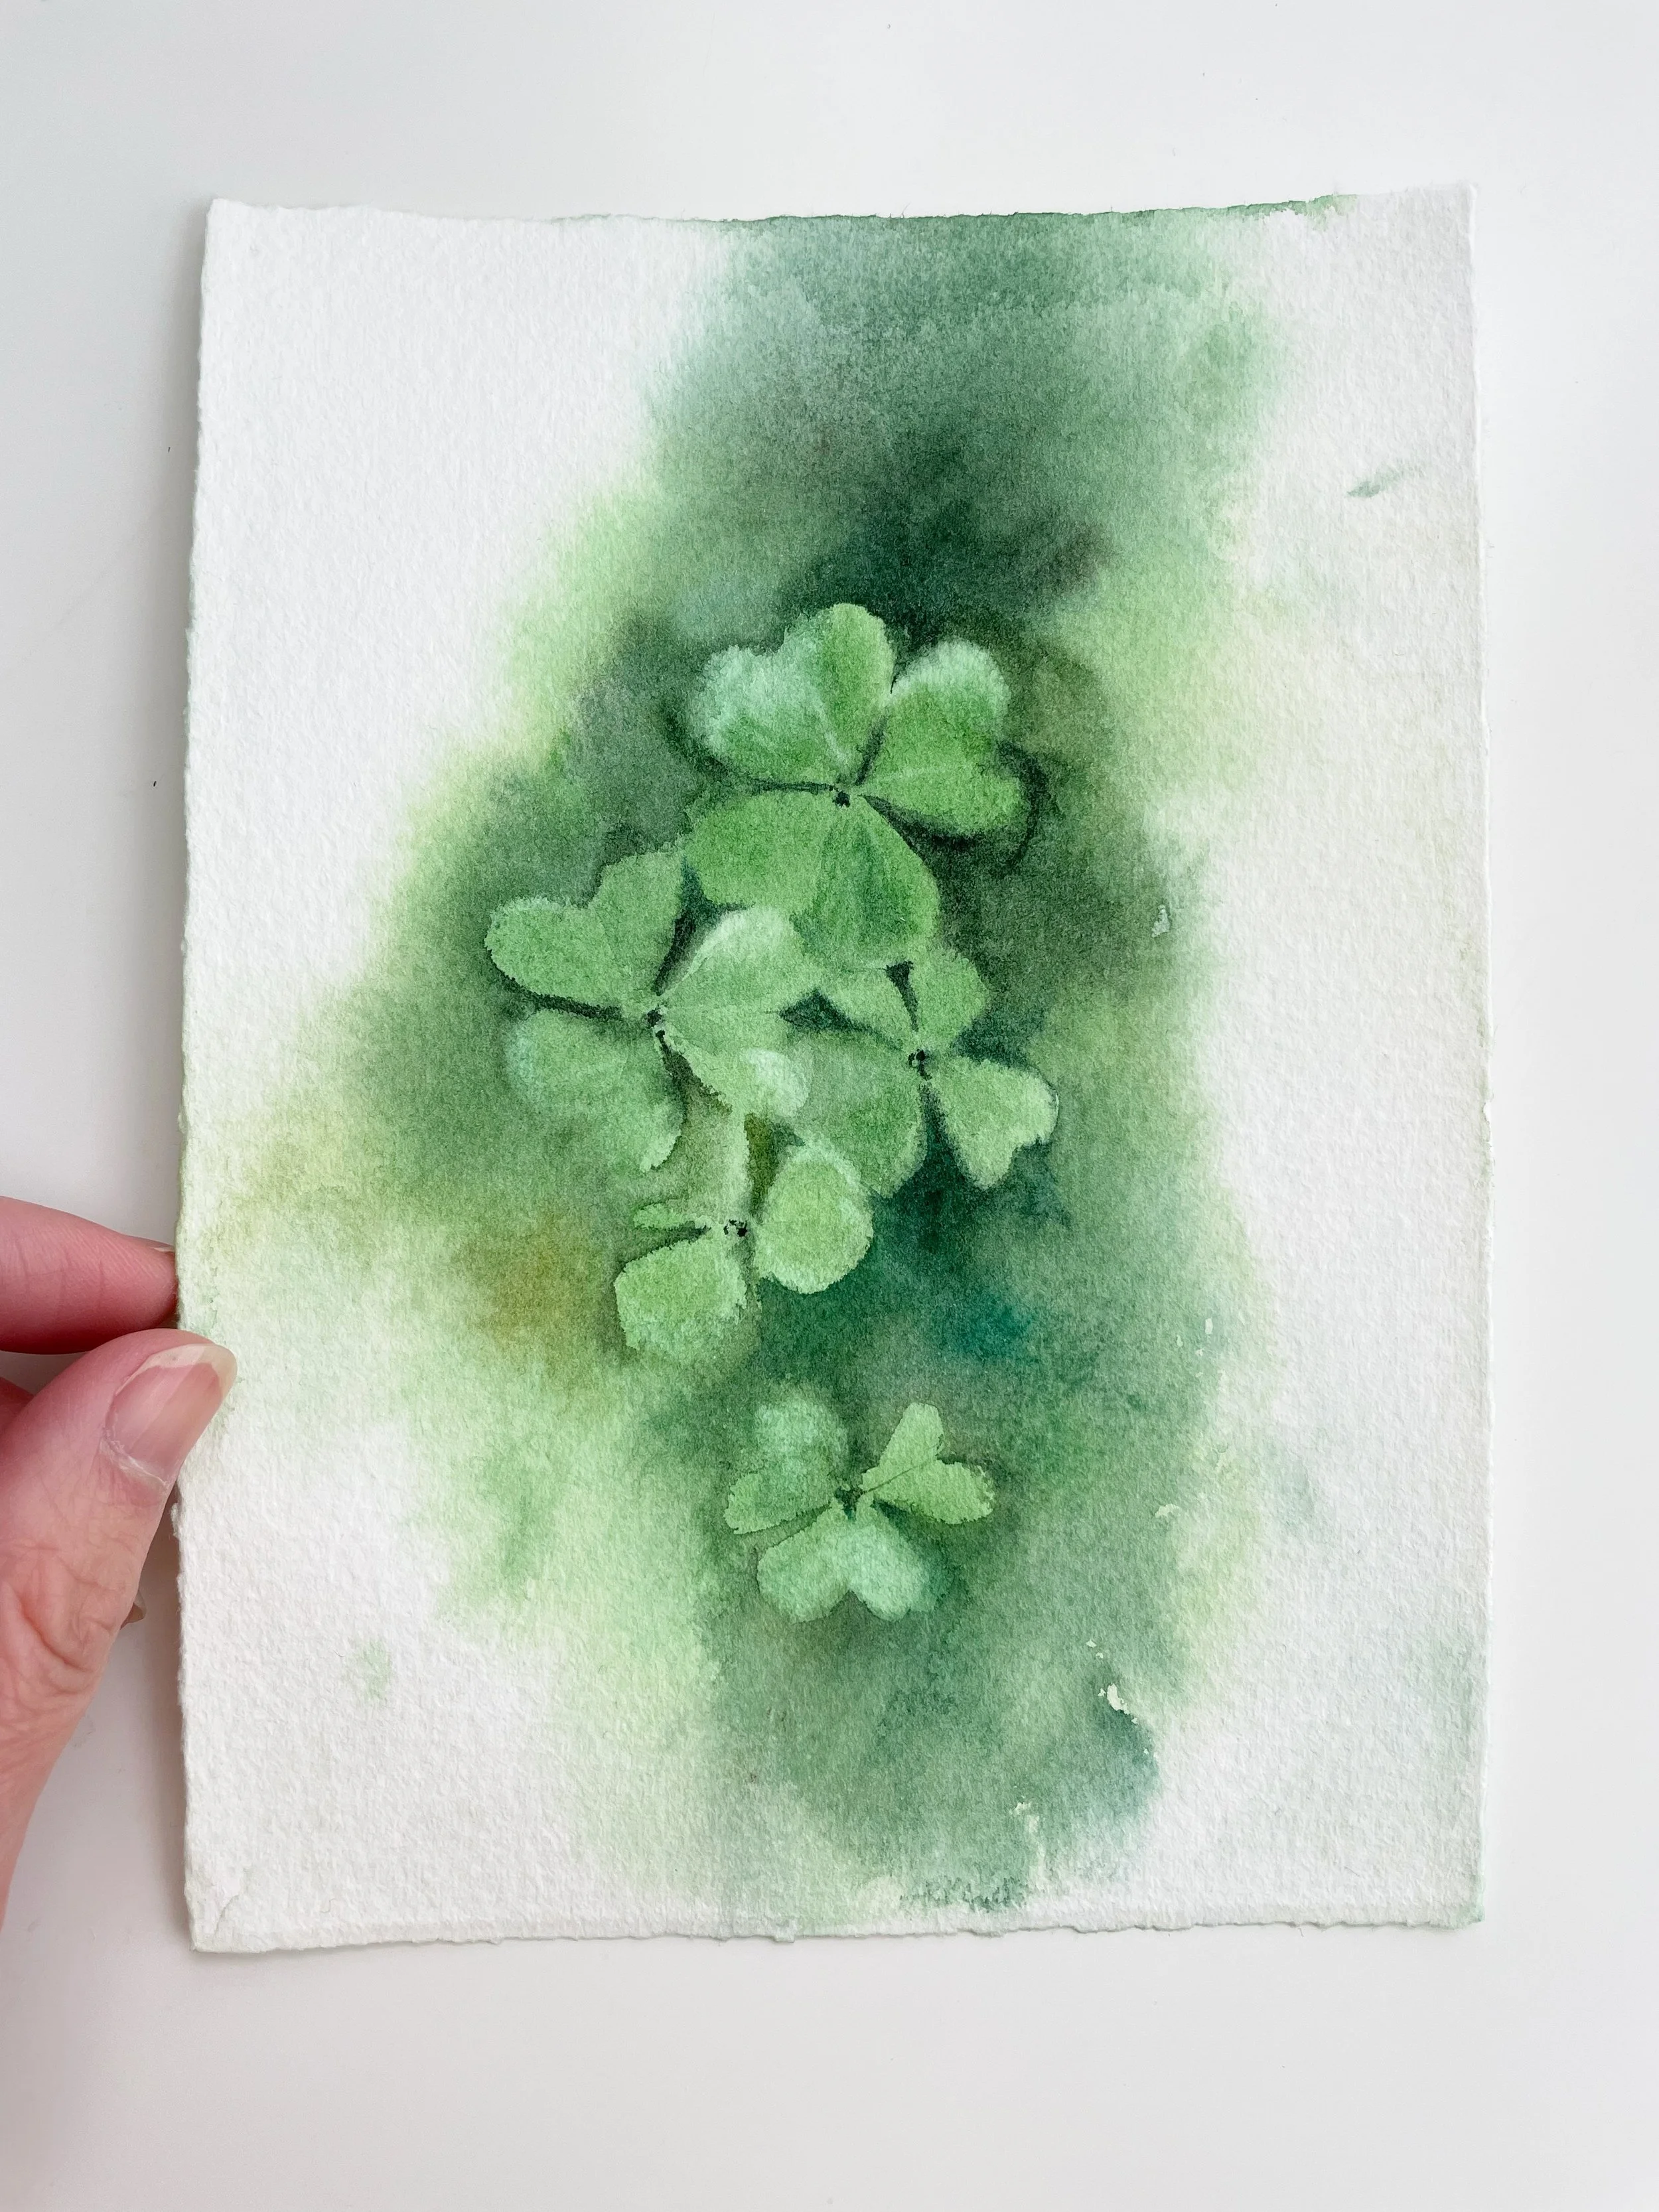
In the video below, I’m practicing clovers in a video lesson for the Paint With Me membership community. Clovers are more simple to paint when isolated and more complex when grouped together. The goal of the class is to experiment with how to paint a grouping of them in a loose, abstract way. In the video I share how I took them through that practice:
If you prefer reading, I’ll breakdown the series of exercises I went through here:
Exercise 1: Single Clover Study
First, we study a single clover, painting it wet-on-dry, and then adding in wet-on-wet details to the leaves along with some lifting.
Then, we study another single clover, this time painting it wet-on-wet, going for it “all at once” and adding in a background for contrast and a soft effect.
This allows space to figure out things like:
What colors do I want to use?
How do I add dimension and detail to the leaves without getting too literal?
What ‘look’ or aesthetic style do I want and which technique achieves more of that?

Exercise 2: Side-by-Side Clovers
After this initial study, we do a side-by-side study using the same techniques from before but now with a group of clovers:
First, painting the clovers and background using a more wet-on-dry approach which results in much harder edged details because the background is painted around all the elements
Second, painting the entire thing wet. Attempting to be looser and less defined, where elements are being worked on in a more simultaneous way.

All of these exercises are to be done with the intention that none of them are going to be final paintings. Which doesn’t come natural to me as I mentioned before since I tend to like to jump right in and paint that ‘final piece’. As a watercolor friend describes it, “one-and-done” is more of how I normally paint in my own creative practice!
Although there are more than just these two ways to approach the clovers, I think taking the time to test out two quite differing approaches is good practice.
Final Challenge
In the final painting, I encourage my community to do one more painting following their own inspiration or natural inclination. Whatever feels the most intuitive or what they want to challenge themselves to aspire to do.
Personally, I wanted to do a wet-on-wet, looser and more abstract approach so that’s what I went for. I can’t verbalize every lesson learned from the studies that we did for the clovers, but the time that went into praciting both approaches definitely lent itself to what I ended up doing in my own final painting.
The most important thing that I want to share and that I hope you take away from this post, is that the studies, the practice, the repetition of a subject - are meant to be done with an attitude of “let’s just see what happens”.
I think the more we practice painting with this attitude, we can keep that outlook even when painting a so-called “final” painting. In many ways, watercoloring has become more fun for me over the years because I attach less pressure to the outcome of any painting - whether it’s a study or a final.
And you know what? That makes it so much more enjoyable. And that’s exactly what a creative outlet should be.
As always, thank you for reading!
Susan
