
This Is How I Make My Monthly Desktop Wallpapers
I don’t know about you but I always appreciate seeing how things are made so I decided to document the process of how I make my monthly desktop wallpapers for you.
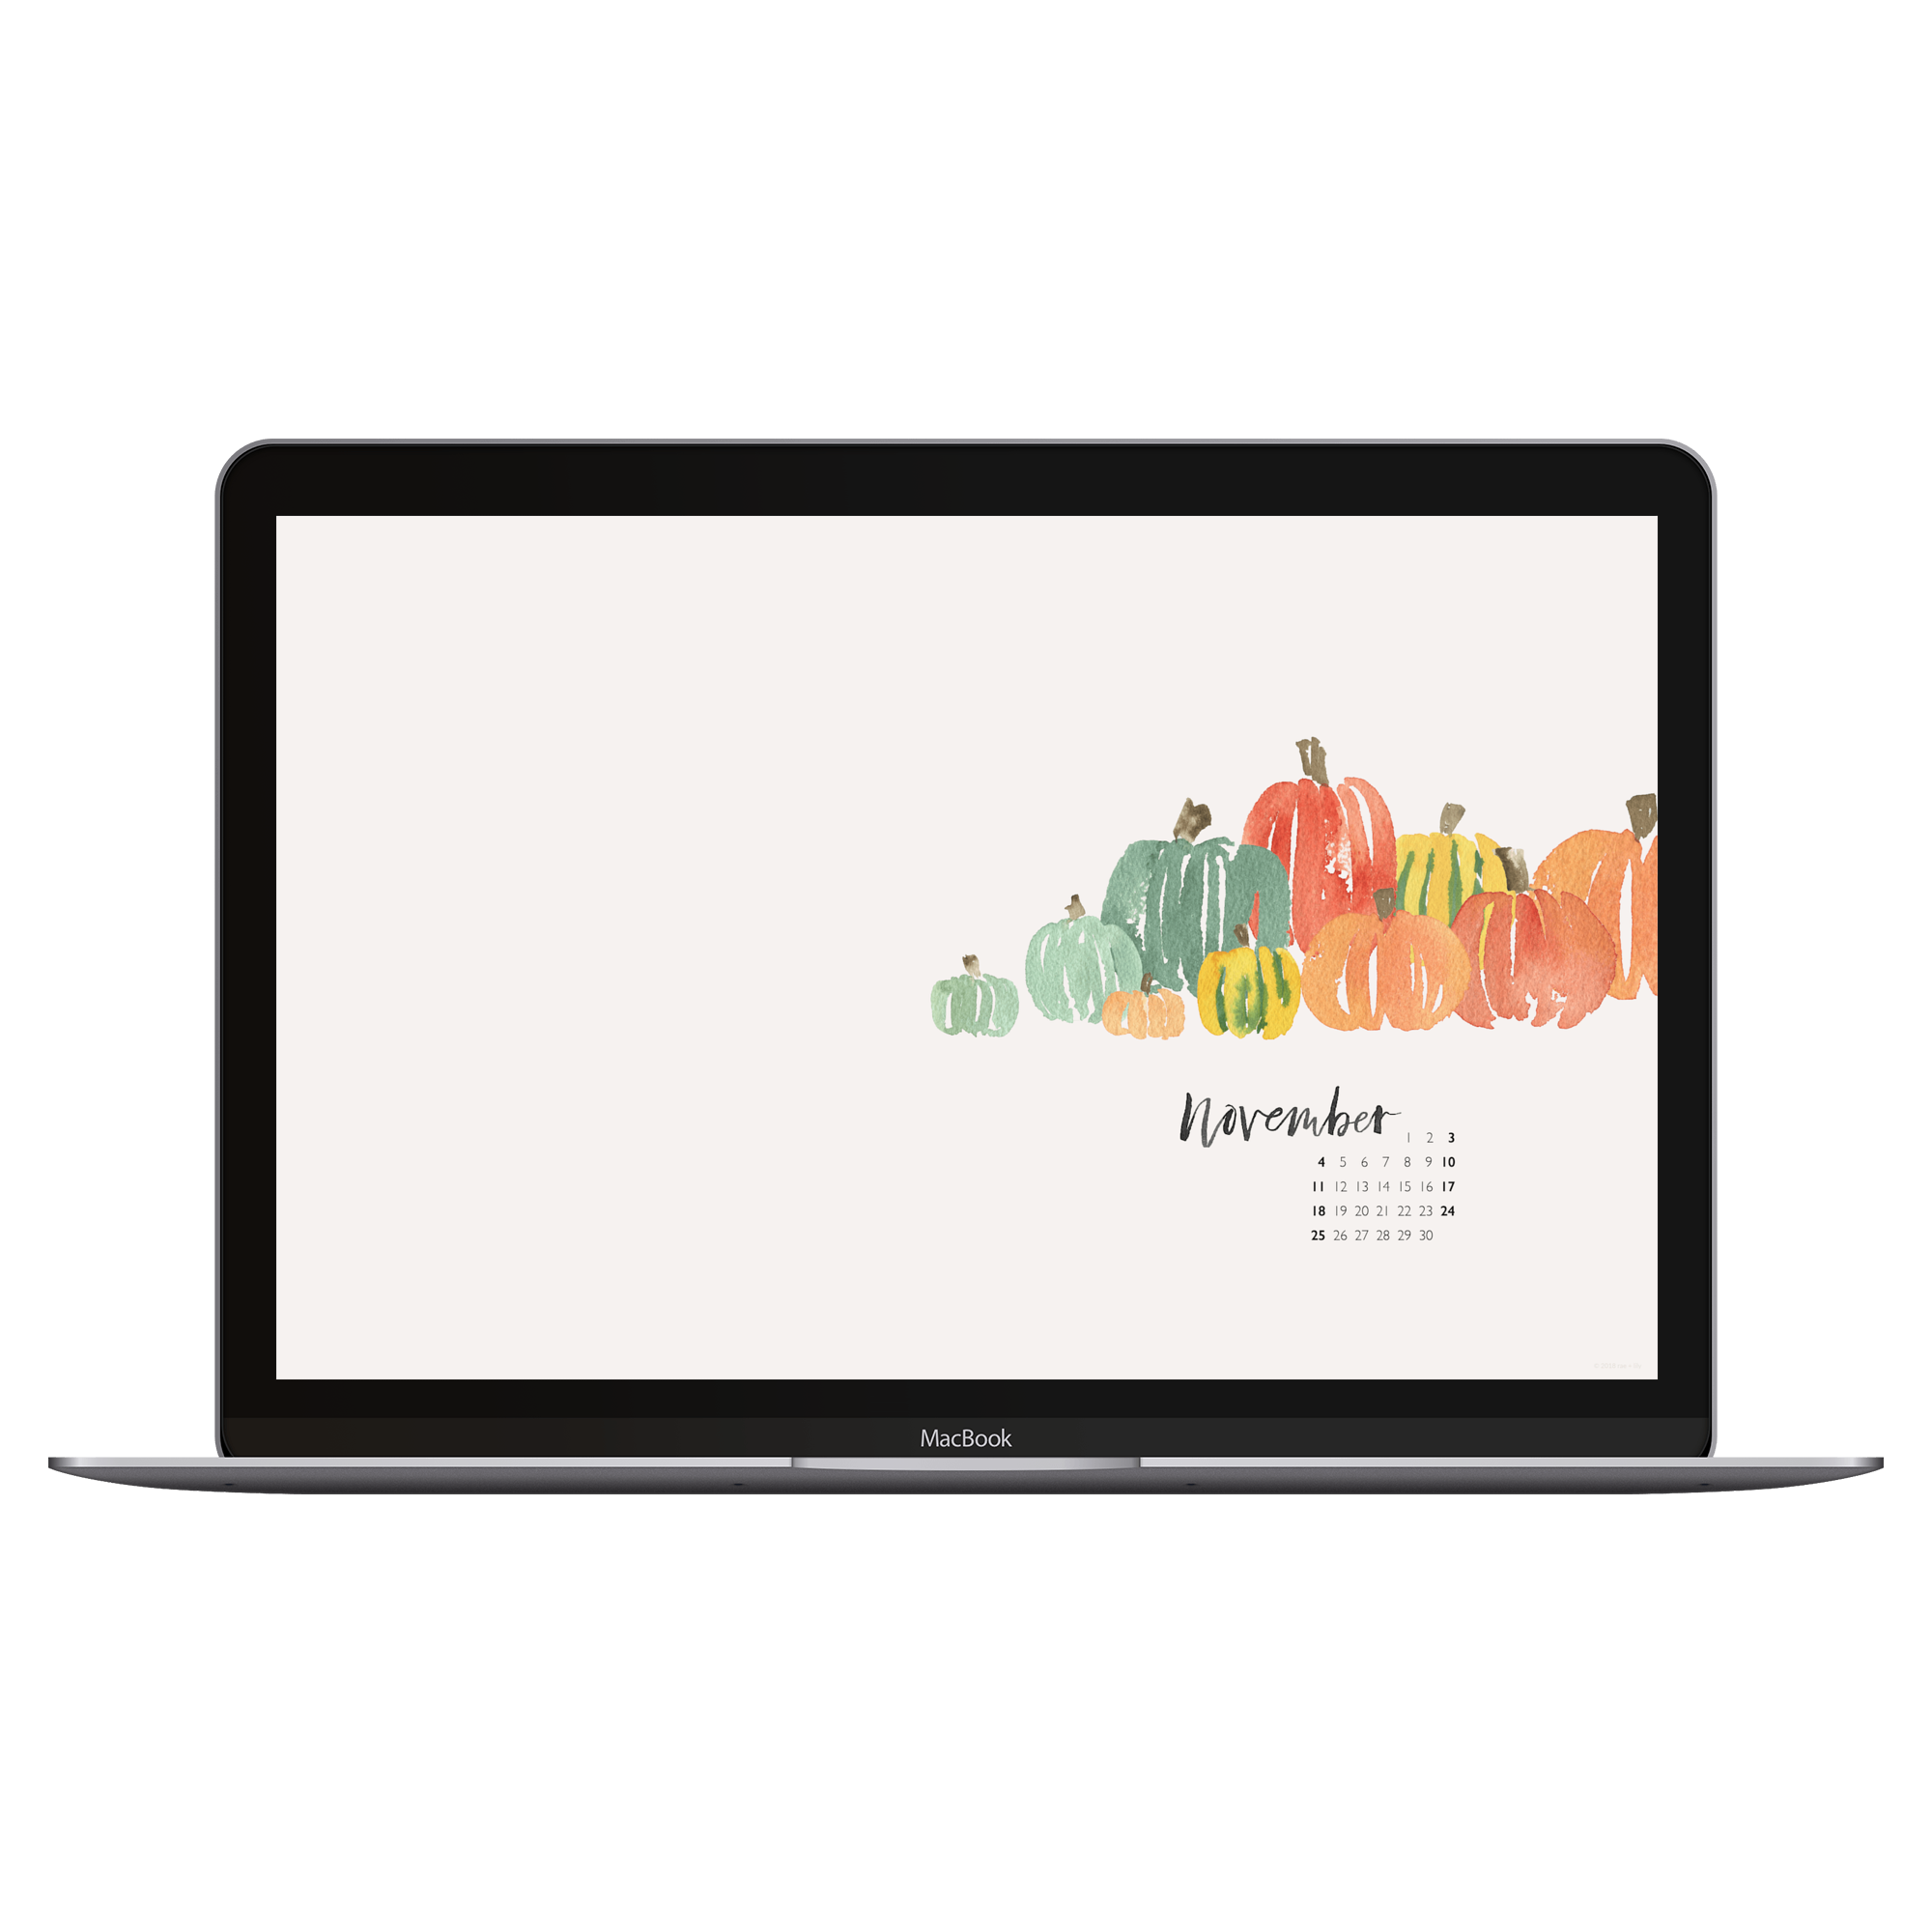
Just in case you don’t already know, I make a free monthly desktop and phone wallpaper to gift to friends on my email list. I’ve been doing this since April 2017 - shortly after I started this blog!
However, the original idea to do these came from something I did way before this blog ever existed. In fact it was before I even started watercoloring! So, the story goes like this: Every month, Smashing Magazine collects submissions from designers for desktop wallpapers. It must have been 8 years or so ago that I submitted a digital design to see if I would be selected and I was so surprised when I got featured! I had a blog back then that now does not exist. I wish I had kept at it but that’s a whole other story.
So when I started this blog, I thought it would be fun to try submitting again since the previous time my design was completely digital. Now that I was painting I had more interesting design elements to work with.
I submitted a design in April 2017 and it was selected…again! You can still see it here - you’ve gotta scroll down a bit - look for the wallpaper with my little sage pattern.
I haven’t submitted any designs since - it’s quite a lot of work because you need to create different sizes to accommodate many different screen sizes. Not to mention you need to provide both calendar and no-calendar versions as well. But it was fun to do and to see my work get featured!
If you are curious about the process behind creating these desktop wallpapers and phone screens you can watch how I do it in the video below!

HOW I MAKE MY DESKTOP WALLPAPERS: BASIC STEPS
(For those of you that like to see things written out)
Paint elements of the design - I don’t worry about layout or anything like that, I just paint objects that I want to use in my digital design
Scan my painting(s) - I use an Epson v550 scanner
Clean up the elements in Adobe Photoshop. I like to save each element out individually - for example, each pumpkin here is a separate Photoshop file. (I wrote about my full digitization process in this blog post)
Bring elements into Adobe Illustrator. (Tip: drag and drop from your file browser directly into Illustrator)
Design your layout in Illustrator. I set up various artboards for the different screen sizes I want to provide.
Export final files as .png or .jpeg
I hope that this post was helpful or hopefully interesting! If you have any questions, please ask me in the comments below and let me know if you want to see more posts like this!
As always - thank you for reading,
Susan
